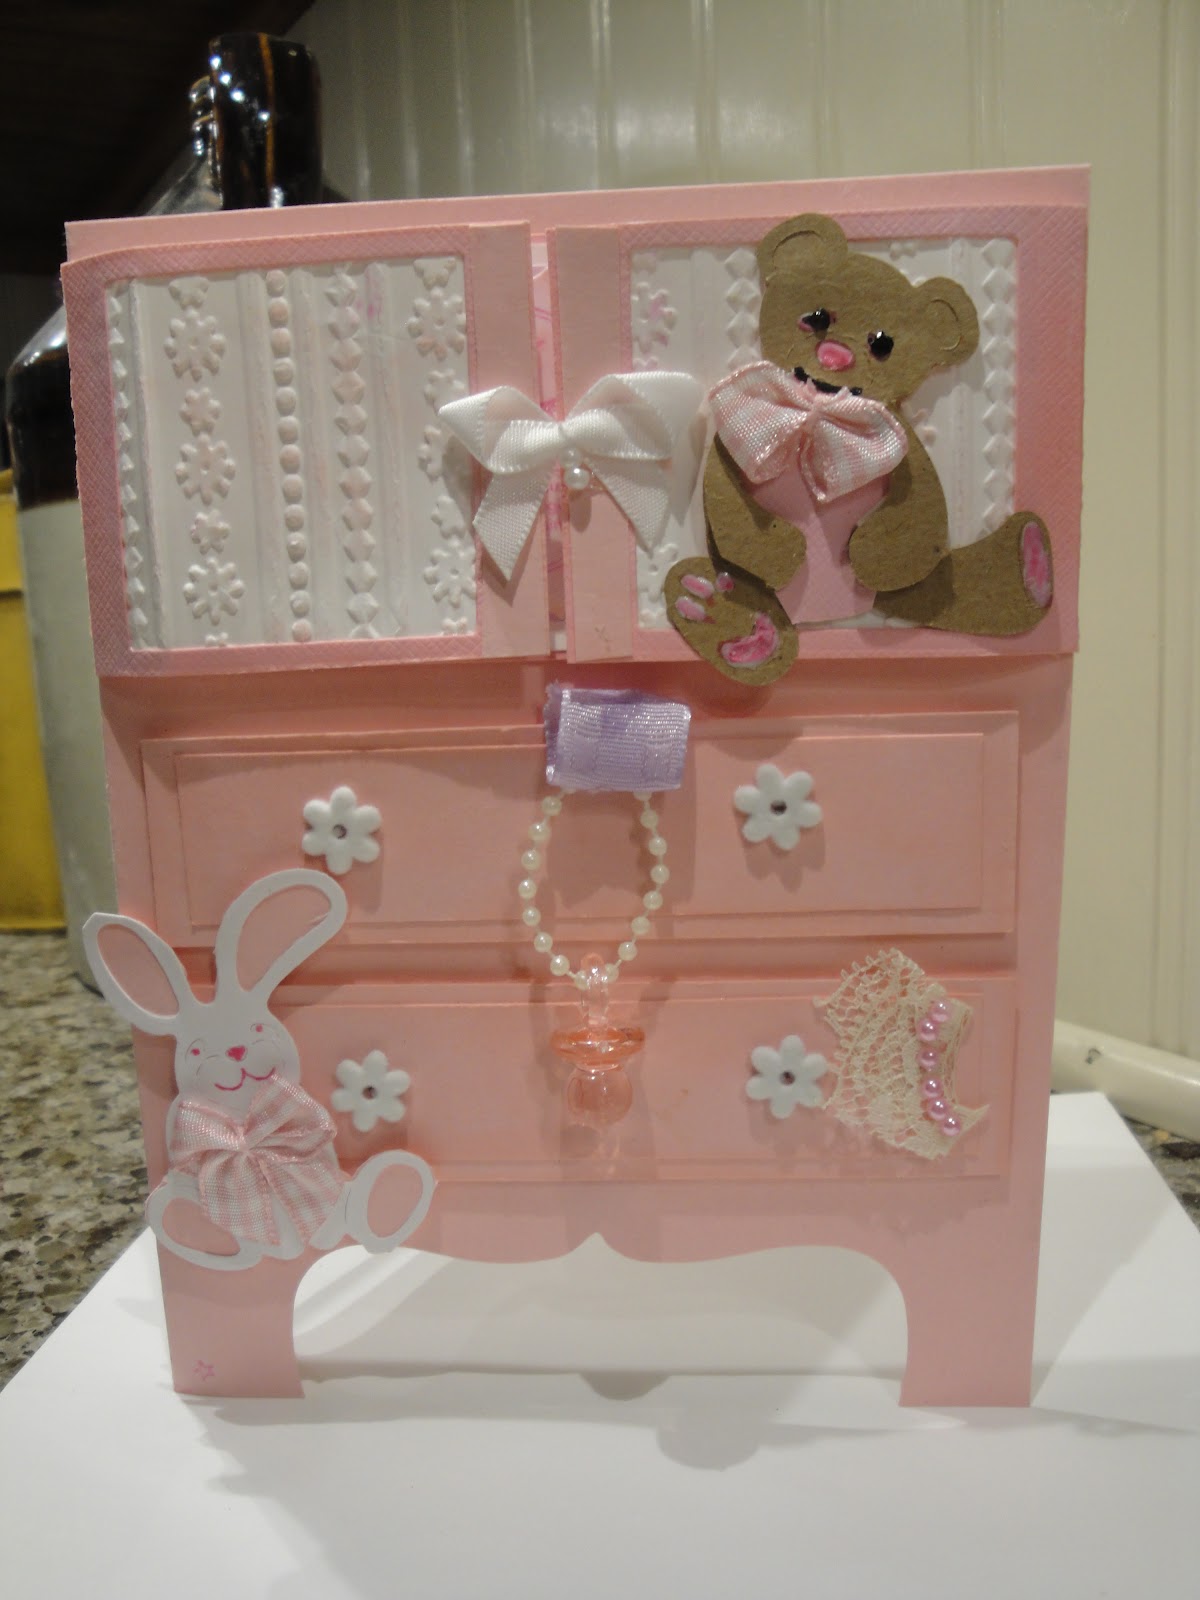
Saturday, February 25, 2012

Cindy's Birthday Bash

Pretty in Pink.
  We are having a birthday party for our friend, Cindy. She loves pink, so I am guessing everything will be in pink. My birthday card will be no different. I had wicked fun making it.
   I used Martha Stewart's lattice punch to make the fence. I added SU's flourish stamp for ivy. I just bought the Mixed Bunch stamp set and punch from Stampin Up. Love them. It makes beautiful blossoms when you stack them and raise them with dimensionals. 
  The leaves are die cuts from Spellbinders. The little bee is from SU Full Blossoms set. I love Martha Stewart's butterfly punch, too. I made the flower in the lower right hand corner from punches and yes.. pink paper. 
  The sentiment I typed on the computer to get the right size and used a Spellbinder's die cut mount the words. I think it came out pretty good. Hope Cindy likes it , too.

Pretty in Pink, too.
Wish I could eat one....
Great display
   We went indoor flea marketing a few weeks ago ad came across a great candy store in Wells. I think that is where we were. It was called "The Harbor Candy Store". Great place. Loved their displays. This pink mask reminded me of Cindy. I snapped a picture of their masks.
More pretty in pink...
We plan on going back to Wells real soon as their stores on the Main Street are so cute and full of things that interest us. 

Thursday, February 23, 2012

Jill's Baby Girl Card

  We are all waiting for the arrival of my niece's baby girl. She is due around the end of March. Can't wait to call my brother "Grandpa".  Hal and Charlotte were visiting this past week from New Jersey. We had a great time seeing them along with my other niece, Cindy. We ordered pizzas with the whole northeast part of our family here.
   I had been working on a card for Jill since we could not make it to her shower. It was so fun to make a baby card. Haven't made one for awhile.I used my Sizzix dies to make little stuffed like animals. I loved adding the little bows that I had purchased from Tate's in Bath.  The top cupboards open. I forgot to take a picture of it.  The card itself opens like a regular card. I found a poem to put inside.
   I cased this card from a card I saw on Splitcoast Stampers. It is a lovely card that gave me the inspiration for my card. Check it out here.Inspiration Card
   The directions for this card were quite simple. I loved the pictures used to help you along the way. This is the link to the directions if you are interested in making your own card.Drawer card directions
   We are praying that everything goes smoothly for Jill. We will be coming back from Florida about the time she is due. We hope to get a glimpse of the new one...
Nice brown color with a bit of sugar on top.
   I was so excited to see my brother and his family this past week that I made an apple pie. I don't make pies that often. In fact, this is the first one I've made since moving into our new home in July.  Yes, I used a refrigerated pie crust. I firmly believe in "semi-homemade". I used fresh apples, however, It came out really good except I could have used more flour since it was a little runny. It looked fabulous. What do you think?

Sunday, February 19, 2012

Bea's Molasses Crinkles

  My friend, Elaine, gave me permission to use her grandmother's recipe and to share it with others. So I took pictures of my baking event. I really love this recipe because it is so easy to make and tastes delicious. It reminds me of my childhood when my mom would make them for us. 

  I mixed the shortening, brown sugar, egg, and molasses first. Then you add the dry ingredients. You have to chill the dough before forming into balls about the shape of a walnut. I made mine slightly bigger or maybe my idea of a walnut is too small. Whatever, the bigger size came out better.

 I let the dough chill for about 30 minutes to an hour. I used a small scoop to try and get the balls to be more uniform, but you can eyeball it, too.                                       


The mixing did not take any time at all. I loved rolling them in sugar. Next I sprinkled each cookie with 2 or 3 drops of water for a crackled surface. Hence the name of the cookie.
These are how they came out. I love the crinkled effect . Makes them look more delicious.
I hope you enjoy making and eating these little gems. I tried to include a picture of Elaine's batch , but for some reason I couldn't do it.. The recipe is below. Happy eating!!!

Tuesday, February 14, 2012

Happy Valentine's Day!!

Wicked fun to make....
  I was in a feverish Valentine mode for the last few days, making cards, boxes, and cookies. Seems like this day comes wicked fast in February. But I got everything done and out to the mailbox in time, I hope. I made a couple of the "Magic Boxes". They are so fun to make and easy once you've done one.My sister, Chris made them and so I got hooked. See her Magic Box here. Cally Lily Studio Blog You can get directions for these from a  blog called  "Life as Lou". Here is the link:  Magic Boxes

Here is a picture of what the inside looks like. The cover goes on top and the other boxes fall into place. It's great for any occasion. I put nuts, fish crackers, and a few chocolates in each section. I will be making these again, I am sure.
For Russ and Cindy
  I also made a Valentine cards for my friend, Cindy and my husband, Russ. I found a card on Splitcoast Stampers   Vintage Card   that I really loved. The heart is from Stampin Up's  "Always" stamp set. I love the design in the heart. I sewed on cards which is the first time I've ever done that. I swore I'd never do it, but then I bought a rotary puncher from We R Memory Keepers. They have a line of  punches that makes holes for zigzag stitching  and other types of sewing stitches that makes it easier to sew. I really liked the effect on my inspiration card.
Yummy...
  Then I just had to make these molasses cookies that my friend, Elaine made last week. They were awesome. It was her grandmother's recipe and she was willing to share it with me. I made them yesterday and they came out perfect. The taste is to die for... They are easy to make, too.  I would share the recipe,but I have to ask Elaine if she minds that her grandmother's recipe is on my blog.
 Well, Valentine's Day is here and I can heave a sigh of relief that I accomplished my goals. I hope everyone has a wonderful day celebrating with the people they love.

Monday, February 6, 2012

Valentine Fever

   I am finally working on making my Valentine projects. I finished the Valentine banner which I hung on my fireplace. I got this idea from my sister, Chris. She's over at Calla Lily Studio. Check out my blog roll for site that I visit often. The hearts are real easy to make. You cut 6 strips three quarter inches wide. Two strips are 6 inches long, two strips are 5 1/2 inches longs, and the last two strips are 5 inches long. You punch out your tag punch in a coordinating color, too. I punch hole in the top of the tag. Next, you assemble the strips with the tag in the middle. On either side of the tag ( which is upside down) you place the longest strips, then the next shortest strips, and then the shortest strips last.   Staple them all together on the tag end.
  Finally, you take the outside strips and pull them down to each other and hold as you pull the next strips down. Once they are all down and even on the bottom you staple the ends together. You now have a heart shape that has the tag sticking up, ready for you to run your favorite ribbon through. So festive, don't you think?

Getting Ready!!

    I have been getting ready for an upcoming craft fair at USM on April 22nd. My sisters and I are excited about doing a spring fair. We di...